
How Microsoft Power Platform is helping to modernize and enable...
In this webinar, our experts showcase a variety of demo use cases of how different components of the...
Setting the proper permissions in Dynamics 365 Business Central can be overwhelming. There are many out-of-box (OOB) permission sets available that can be copied and manually edited to meet your individual needs – but there are thousands of tables and permission objects within the software and locating them all is not always easy. This can lead to a lot of trial and error and inevitably, frustration. Using the recording feature to set these permissions might be a better alternative. The recording feature will track along with you, recording every object you access, and then save it to your custom user-defined permission set. There are a couple of different options for this:
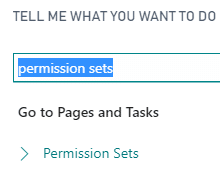
1. To start, search for “permission sets” in the TELL ME WHAT YOU WANT TO DO box and select Permission Sets.
2. Click + New to create your user-defined permission set.

3. Once you have chosen a permission set name and a description, select Permissions.

4. You’ll see that this permission set is empty. Select Start to begin the recording process.
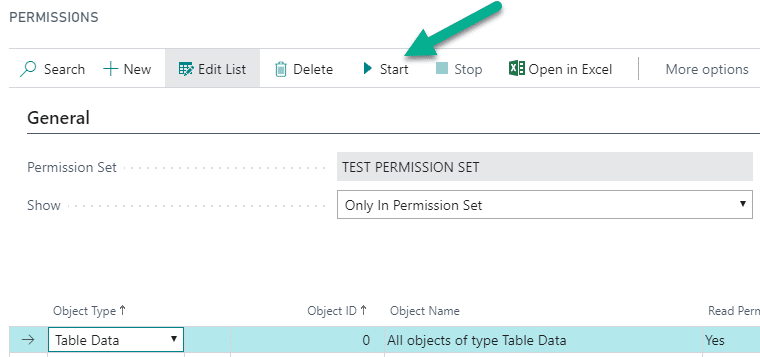
5. You will be prompted to start the recording. Click Yes. Now you will need to go back to the TELL ME WHAT YOU WANT TO DO box and start selecting things you will want included in your permission set. For instance, type “Customers” and go to your customer list. Select a customer. Then return to the recording window. Select Stop (located next to Start). You will be prompted to add the recorded permission. Select Yes. Your permission set now includes customer access. However, at this point you’ll see that you only have Read rights to the customer table. The reason for this is that you viewed a customer but took no other actions.
![]()
6. You can manually edit the rights on this screen, or you can start recording again and do the actions you wish to have access to. To do this, start recording, go back into your customer list, create a new test customer, change the name of that customer, and finally, delete that customer. Stop the recording again and add the permissions. The permissions for customers have been updated. In addition to read permissions, you now also have Insert, Modify, and Delete. Your list of objects has also been increased. If you don’t want delete rights in this permission set, simply change that Yes back to a blank field.

7. Repeat these steps as necessary for all desired access (lists, tasks, reports, etc.) and when you are done, assign this permission set to the desired user(s).
In most cases you will use an OOB permission set as your framework and then add the additional permissions you need but whether you start from scratch or use an existing permission set, using the permissions recording feature can help you to get the exact permissions you’re looking for.
Happy D365’ing!


