
How Microsoft Power Platform is helping to modernize and enable...
In this webinar, our experts showcase a variety of demo use cases of how different components of the...
The Ribbon Workbench is a very helpful (and fun) tool to create custom buttons and actions. There are many reasons why there would be a need for the Ribbon Workbench. One example might be the need to resolve a case with one click.
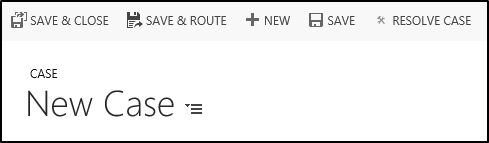
The OOB functionality is set up where you click the Resolve Case button, and then fill out a series of required fields before successfully closing. Let's say you were able to use the Ribbon Workbench to create a custom Resolve Case button using JavaScript and workflows that works on existing records. However, it does not work on new records until it is saved. A simple solution would be to remove this button when the record is being created. In this blog, we will show you how show your custom button only on existing records.

Go the Ribbon Workbench and open the solution where you had previously set up your custom button.
Select the plus sign under Display Rules to create a new Display Rule.


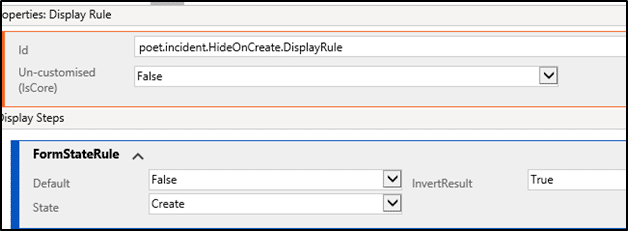
There are three rules you will need to define, Default, InvertResult, and State. Choose the following for each one.
If you are creating multiple display rules, it is a good idea to give the ID a meaningful name. By default, the ID is set up with the publisher prefix, entity type, action number, and then action name. Therefore, if you are creating your first display rule for a case, it would look like this: publisher.incident.DisplayRule0.DisplayRule.
After you have changed your ID and form state rules, it should look something like this:
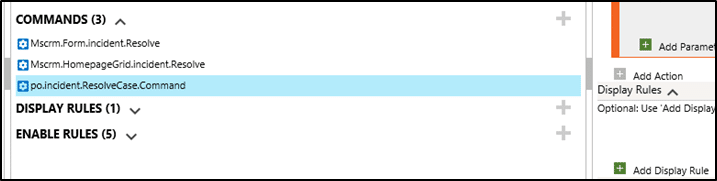
Once the properties are defined, go back to the commands section.
Note: If you have already created a ribbon button that is successfully executing an action, there should already be an existing command in there. You can double check by going to Buttons, look for the custom button ID you created, and under properties the Command Core label will have a command ID.
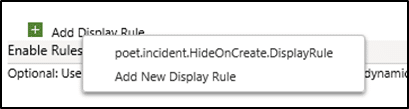
Find the Add Display Rule command under properties, and select the Display Rule you just created.
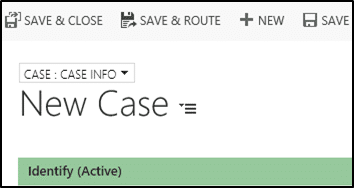
Publish your changes, and then go back to the Case area. Now when you go to create a new case, you will no longer see your custom Resolve Case button.
For more helpful guides to using Dynamics 365, subscribe to our blog!
Happy Dynamics 365'ing!


