Looking for PowerObjects? Don’t worry, you’re in the right place! We’ve been part of HCL for several years, and we’ve now taken the final step in our acquisition journey: moving our website to the HCL domain. Nothing else is changing – we are still fanatically focused on Microsoft Business Applications!

PowerObjects Blog 

for Microsoft Business Applications


Spring '14 Wave Update: Installing Dynamics CRM on Tablets for Windows 8.1

Post Author: Joe D365 |

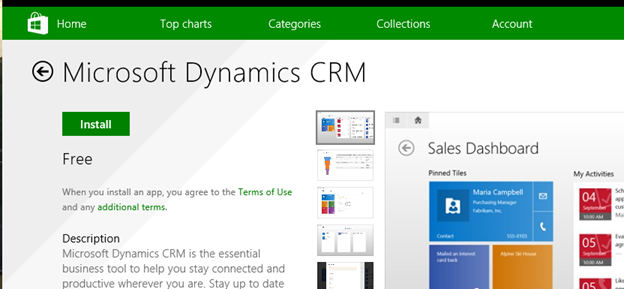
One of the added bonuses of Dynamics CRM is its ability go where you go! With the Spring '14 Wave Update, you can now download CRM to your tablet with Windows 8.1. If you currently have the CRM for tablets installed, make sure to uninstall it before beginning and completing these steps.

1. The Tablet app for Windows 8.1 is simply named Microsoft Dynamics CRM.


Spring '14 Wave Update: Installing Dynamics CRM on Tablets for Windows 8.1

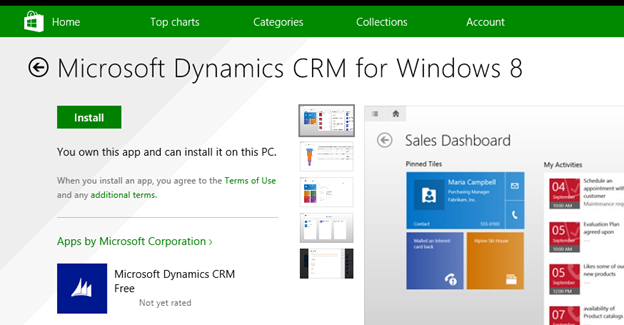
2. The Tablet app for Windows 8 is labeled as Microsoft Dynamics CRM for Windows 8.


Spring '14 Wave Update: Installing Dynamics CRM on Tablets for Windows 8.1


3. After installing you may receive this message:


Spring '14 Wave Update: Installing Dynamics CRM on Tablets for Windows 8.1

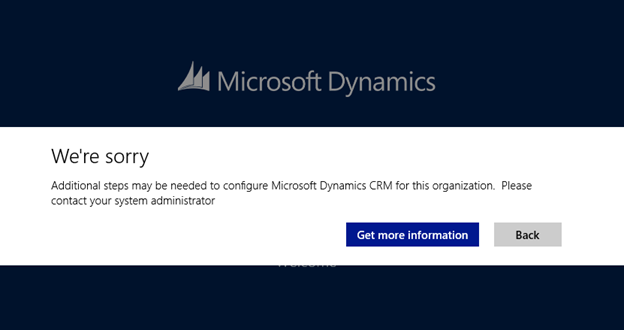
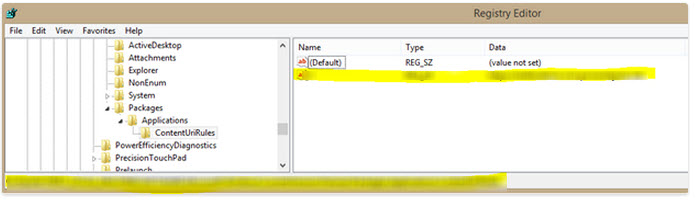
4.  You will need to follow these steps to modify your registry and add keys.

Note: As always, back up your registry first.

Using Regedit
  1. Start Registry Editor.
  2. Before making changes to your registry, you should make a backup. Click or tap File > Export and enter your settings.
  3. Locate the following registry subkey: HKEY_LOCAL_MACHINESoftwareMicrosoftWindowsCurrentVersionpolicies
  4. Right-click or tap Policies, point to New, and then click or tap Key.
  5. Type Packages, and then press ENTER.
  6. Right-click or tap Packages, point to New, and then click or tap Key.
  7. Type Applications, and then save the text.
  8. Right-click or tap Applications, point to New, and then click or tap DWORD (32-bit) Value.
  9. Type EnableDynamicContentUriRules and then save the text.
  10. Right-click or tap EnableDynamicContentUriRules, and then click or tap Modify.
  11. Type 1 in the Value Data box, and then click or tap OK.
  12. Right-click or tap Applications, point to New, and then click or tap Key.
  13. Type ContentUriRules, and then save the text.
  14. Right-click or tap ContentUriRules, point to New, and then click or tap String Value.
  15. Type 1, and then save the text.
  16. Right-click or tap 1, and then click or tap Modify.
  17. Type your CRM organization's URL in the Value Data box (for example, https://contoso.com), and then click or tap OK.
  18. Exit the Registry Editor.


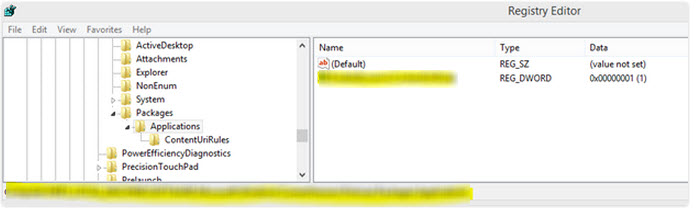
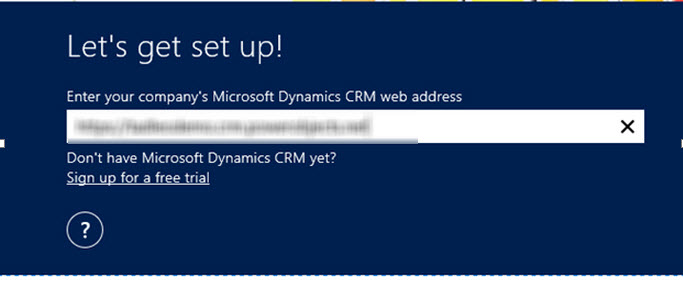
5. Now your URL should successfully connect. Note: Ensure you do not have a '/' (slash) at the end of the URL.

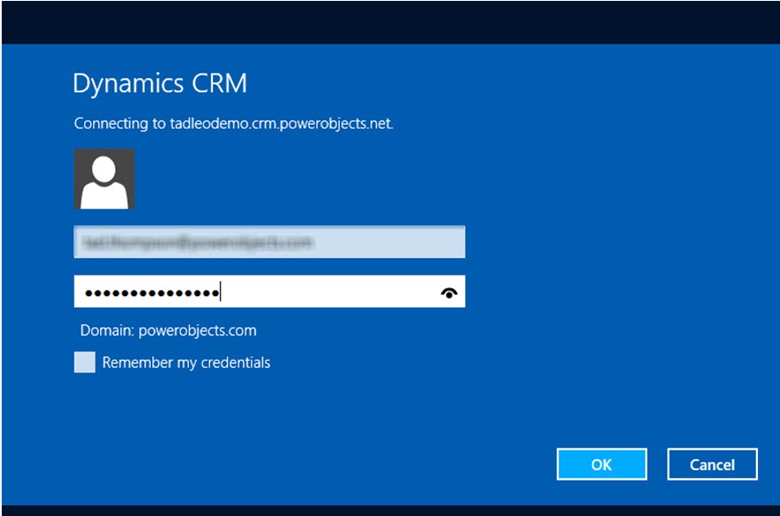
6. On the OAuth screen you may not successfully log in if OAuth is not configured.


Spring '14 Wave Update: Installing Dynamics CRM on Tablets for Windows 8.1


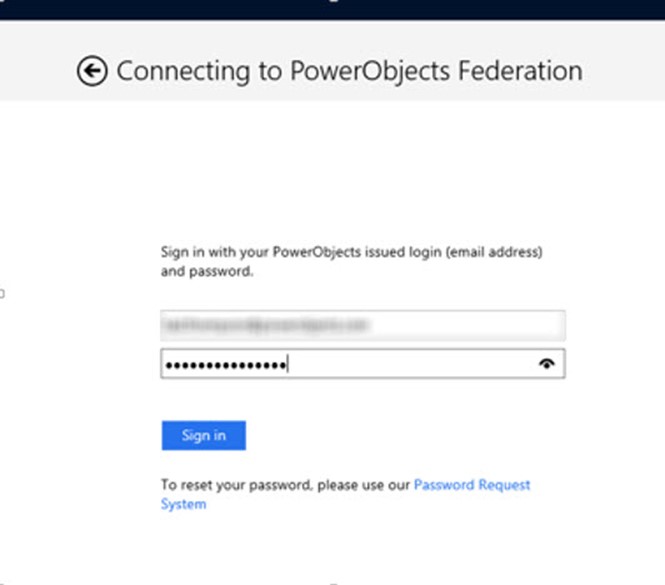
7. If so, click Cancel and you should be presented with the ADFS login:

Spring '14 Wave Update: Installing Dynamics CRM on Tablets for Windows 8.1

8. The metadata sync will run for a few minutes. Go get a cup a coffee and it should be done when you return.

Spring '14 Wave Update: Installing Dynamics CRM on Tablets for Windows 8.1


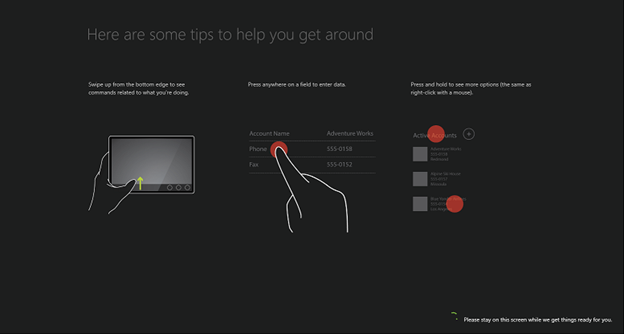
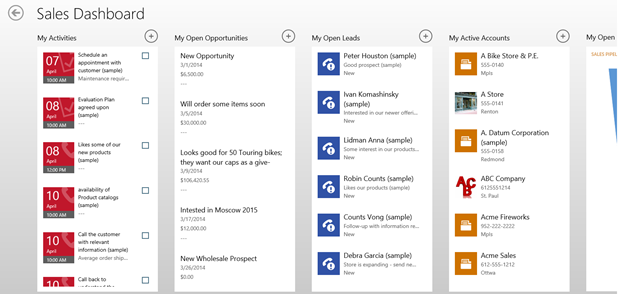
9. After completion of the metadata sync you will be into the Tablet dashboard which is the Sales Dashboard.

Spring '14 Wave Update: Installing Dynamics CRM on Tablets for Windows 8.1


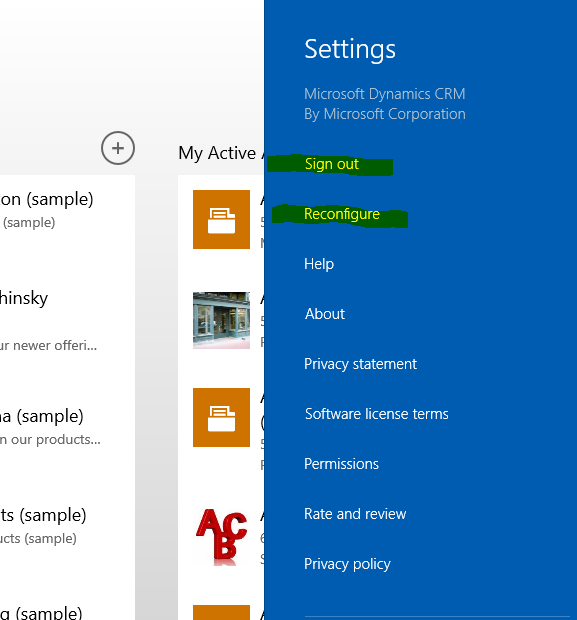
10. Start enjoying new features such as sign-out and reconfigure.

Spring '14 Wave Update: Installing Dynamics CRM on Tablets for Windows 8.1


If you are looking for more information on other Spring '14 Wave topics, look to these great resources:

Happy CRM'ing!


Joe CRM
By Joe D365
Joe D365 is a Microsoft Dynamics 365 superhero who runs on pure Dynamics adrenaline. As the face of PowerObjects, Joe D365’s mission is to reveal innovative ways to use Dynamics 365 and bring the application to more businesses and organizations around the world.

PowerObjects Recommends