
How Microsoft Power Platform is helping to modernize and enable...
In this webinar, our experts showcase a variety of demo use cases of how different components of the...
https://powerobjects.wistia.com/medias/b0kth0licr?embedType=async&videoFoam=true&videoWidth=640
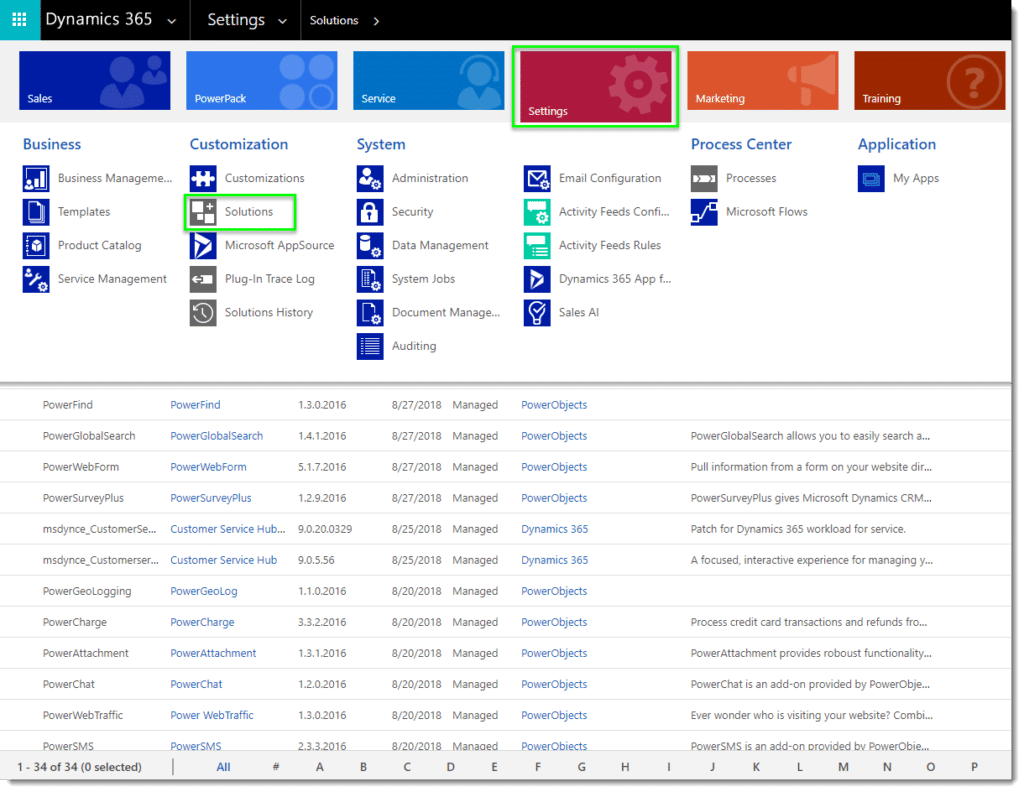
 IMPORTANT: If you do not have the proper security permissions to upload a solution you may need to contact your CRM Admin.
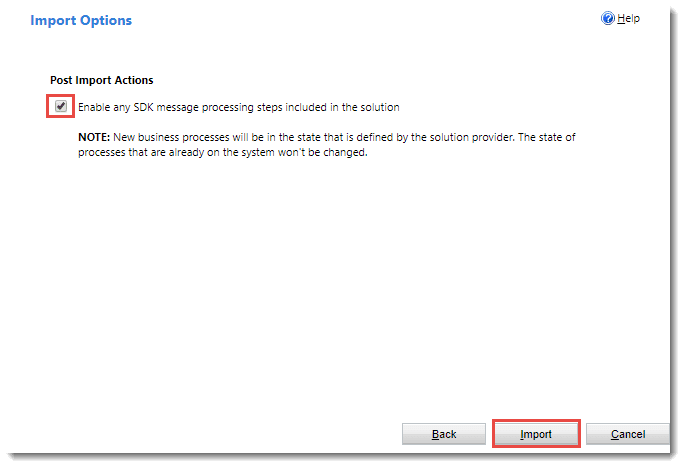 IMPORTANT: If you do not select this checkbox the solution will not function properly.


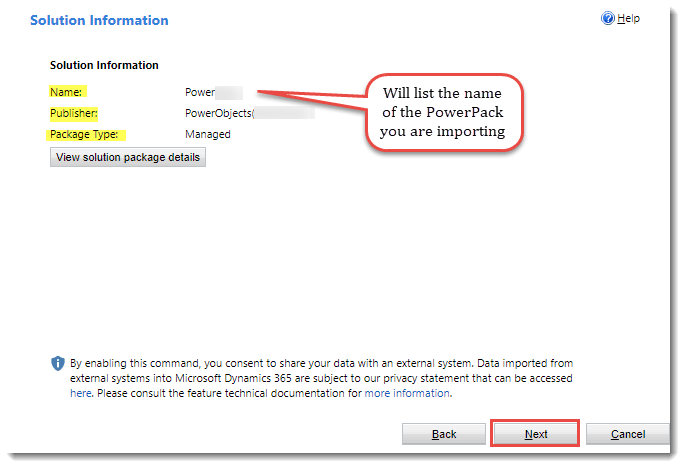
Once the import has completed, double-click on the PowerPack solution you just imported from the solutions list in CRM. This will open the configuration screen of the PowerPack solution, where you can select if you'd like to register for a 30-day free trial or subscribe to the add-on.
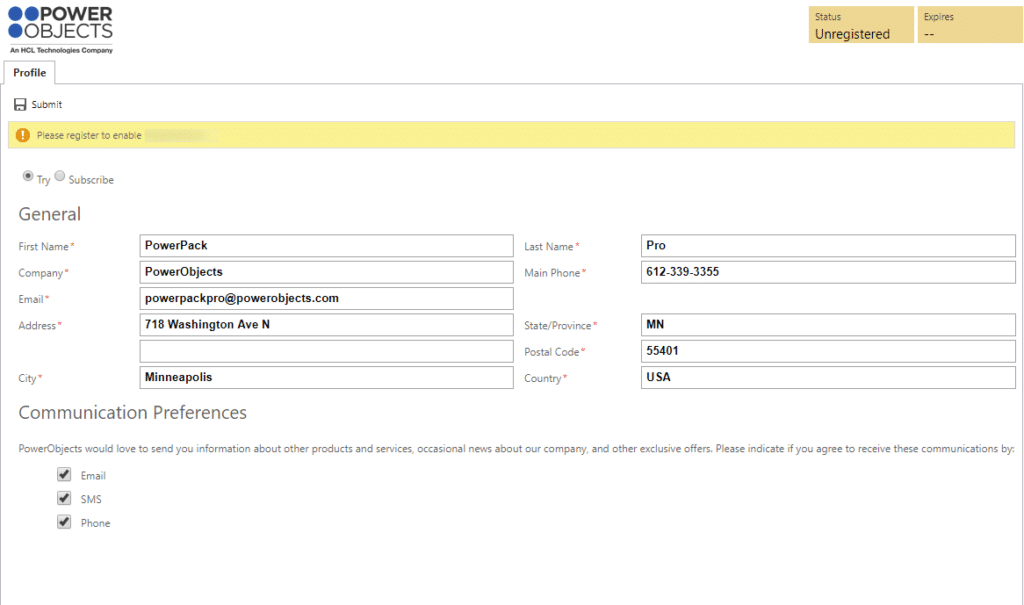
Under the “General” section fill-in the required information, including your communication preferences, once you have completed the form select the “Submit” button which is located under the “Profile” tab of the form.
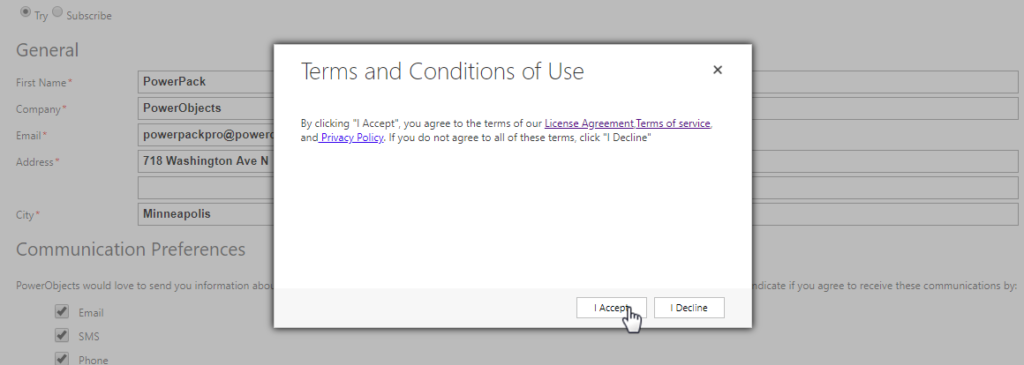
In order to successfully register and use a PowerPack Solution you will need to agree to the terms of our License Agreement, Terms of Service and our Privacy Policy. Please note, declining the terms of use will stop all PowerPack functionality.
 Learn more about our updated Terms of Use.
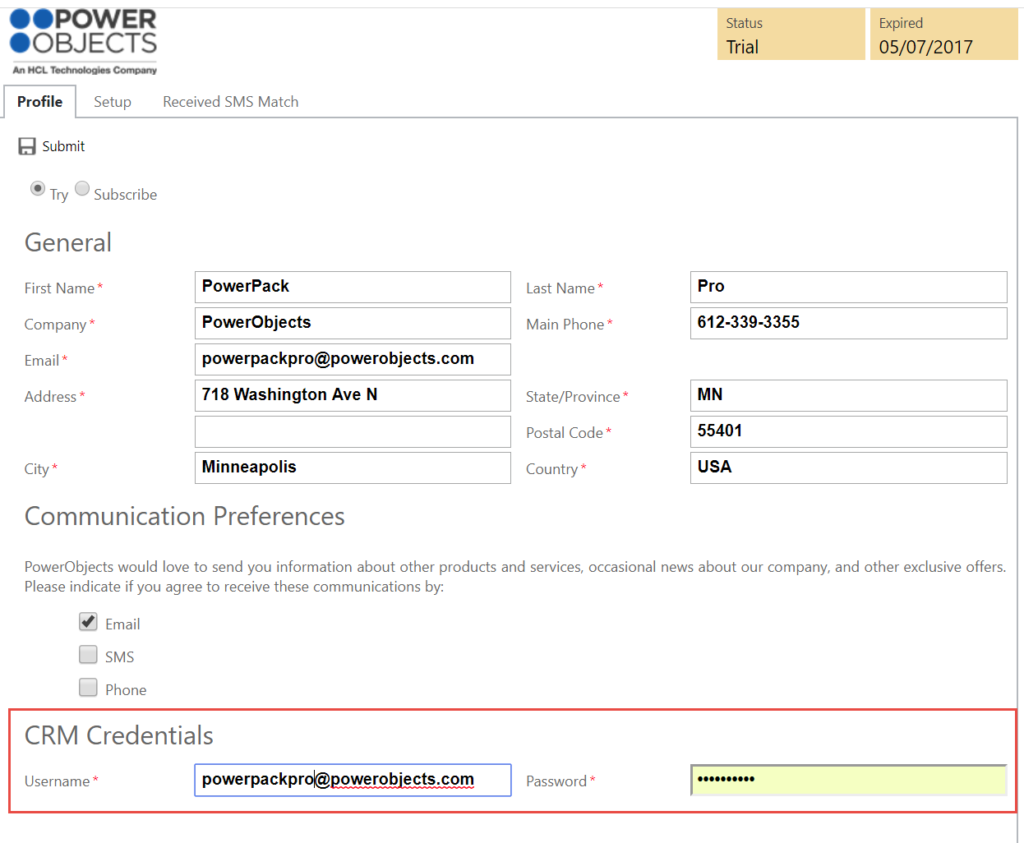
Some PowerPacks require connections back to your CRM environment to process data from our cloud. If your PowerPack requires this connection, you’ll see fields for service user username and password. If that is the case, please input credentials of a user that has, at minimum, the Powerxxx Service User security role assigned. This security role includes the minimum level of access this user needs, in order for the add-on to function properly.
Note: This user cannot have two-factor, or multi-factor, authentication turned on.
For information on using the solution please refer to the corresponding user guide.
Thank you for your interest in PowerPack Add-ons Import Guide, should you choose to subscribe you will be charged $2/enabled CRM user/month. If you have any questions or run into any issues with PowerPack Add-ons Import Guide, our friendly support team is here to help!

