In this webinar, our experts showcase a variety of demo use cases of how different components of the...
Microsoft Business Applications Practice
- Products & Technology
- Industries
- Services
- Support
- Education
- Solutions
- Blog & Resources
Latest Blog Posts
PD9waHAgJGFyZ3MgPSBhcnJheSgKICAgICAgICAncG9zdF90eXBlJyA9PiAncG9zdCcsCiAgICAgICAgJ3Bvc3Rfc3RhdHVzJyA9PiAncHVibGlzaCcsCiAgICAgICAgJ3Bvc3RzX3Blcl9wYWdlJyA9PiAzLAogICAgICAgICdvcmRlcmJ5JyA9PiAnZGF0ZScsCiAgICAgICAgJ29yZGVyJyA9PiAnREVTQycsCiAgICApOwogICAgJHJlbGF0ZWRfaXRlbXMgPSBuZXcgV1BfUXVlcnkoICRhcmdzICk7CiAgICBpZiAoJHJlbGF0ZWRfaXRlbXMtPmhhdmVfcG9zdHMoKSkgOgogICAgd2hpbGUgKCAkcmVsYXRlZF9pdGVtcy0+aGF2ZV9wb3N0cygpICkgOiAkcmVsYXRlZF9pdGVtcy0+dGhlX3Bvc3QoKTsKICAgID8+CgkgIDxhIGhyZWY9Ijw/cGhwIHRoZV9wZXJtYWxpbmsoKTsgPz4iPgogICAgICAgIDxkaXYgY2xhc3M9Im5hdi1wb3N0LXdyYXAiPgogICAgICAgICAgPGRpdiBjbGFzcz0ibmF2LWZlYXQtaW1nIj4KICAgICAgICAgICAgIDw/cGhwIHRoZV9wb3N0X3RodW1ibmFpbCgpOz8+CiAgICAgICAgICA8L2Rpdj4KICAgICAgICAgIDxkaXYgY2xhc3M9Im5hdi1wb3N0LXRleHQiPgogICAgICAgICAgICA8ZGl2IGNsYXNzPSJwb3N0LXRpdGxlIj48P3BocCB0aGVfdGl0bGUoKTsgPz48L2Rpdj4KICAgICAgICAgICAgPGRpdiBjbGFzcz0icG9zdC1leGNlcnB0Ij48P3BocCB0aGVfZXhjZXJwdCgpOyA/PjwvZGl2PgogICAgICAgICAgPC9kaXY+CiAgICAgICAgPC9kaXY+CiAgICAgIDwvYT4KICAgIDw/cGhwCiAgICBlbmR3aGlsZTsKICAgIGVuZGlmOwogICAgd3BfcmVzZXRfcG9zdGRhdGEoKTsKPz4KPGRpdiBjbGFzcz0ibmF2LWJ0bi13cmFwIj4KICA8YSBocmVmPSIvYmxvZy8iIGNsYXNzPSJuYXYtcG9zdHMtYnRuIj5SZWFkIHRoZSBCbG9nPC9hPgo8L2Rpdj4=Latest Resources
 How Microsoft Power Platform is helping to modernize and enable...
 Deliver an Extraordinary Omnichannel Experience
Businesses that provide multiple touchpoints for customer service—powered by intelligent automation...
 Data Interoperability Key to Improving the Patient Experience
As the healthcare industry continues its shift to patient-centric care...
More...
PO TV
PO TV is your designation for Dynamics 365 video content.Events
PowerObjects offers a wide variety of Dynamics 365 events, trainings, and webinars.Careers
We're looking for bright, energetic and motivated people.News
PowerObjects' latest press releases and Microsoft Business Application news.Webinars on Demand
We record all of our webinars so they can be watched on demand at any time. - Contact

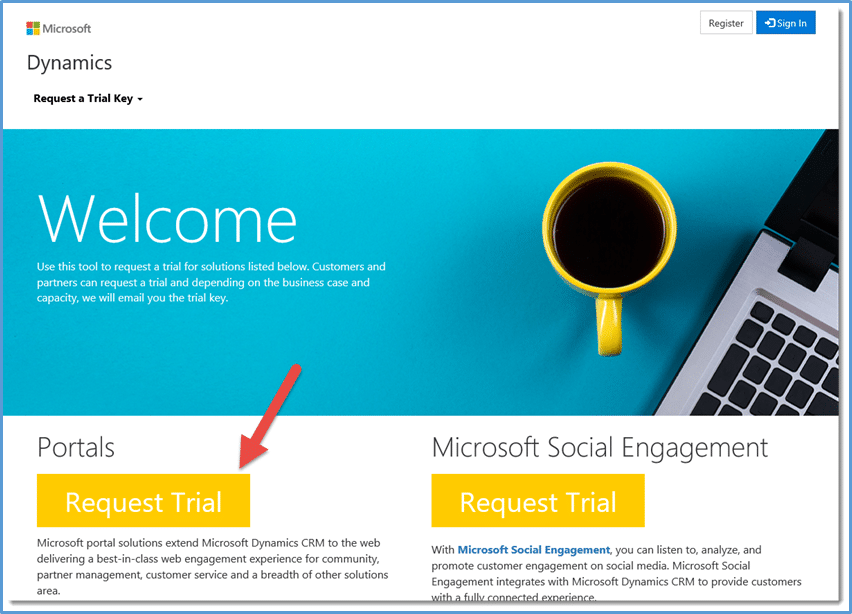
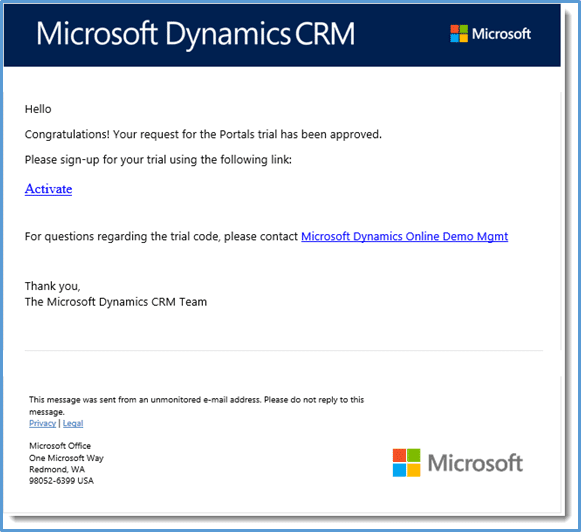
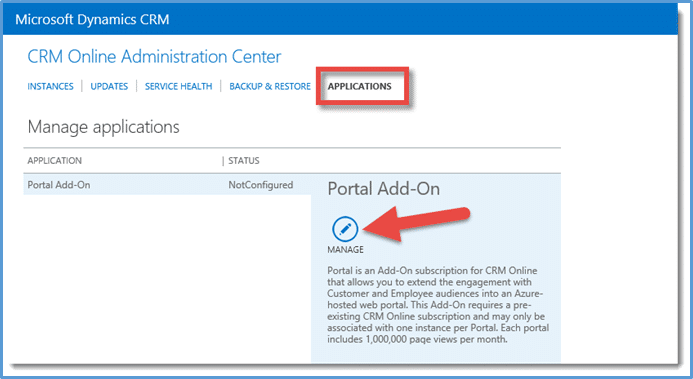
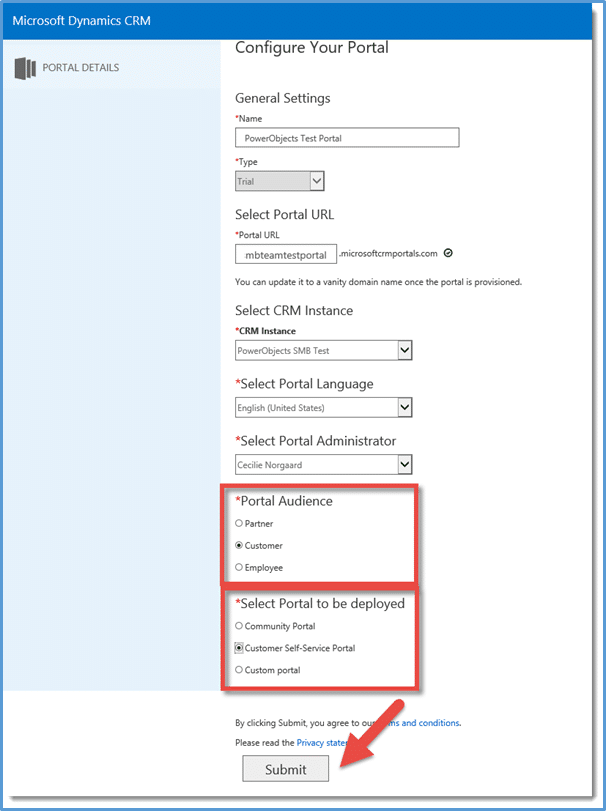


Did you have any trouble assigning the portal license to a user? I was approved for the trial, it shows up in subscriptions but when i go to add the license to a user its not an option.
Hi Mathew - were you able to spin up the portal ok? SInce the portal will be used by external folks, the external folks/users accessing teh portal will not need a license.
I have followed all the steps and got the trial...but how do I purchase it? I cannot see any 'buy' button
Here's a picture, even clicking on 'add subscription' does not shows any option
https://uploads.disquscdn.com/images/6fe48bb5e3144ce7a32fde7be90c70b8f5452faf837673b1b8ef9b69f7753658.png
Hi Prashant - To purchase the subscription go to the 'purchase services' in the left hand nav bar. The portal shoudl be listed there currently for $500/month. Also - if you are still purchasing directly from Microsoft, checkout our CSP program - https://powerobjects.com/blog/2016/02/03/the-crm-minute-make-the-move-to-the-cloud-video/
Here's an image of were to purchase:
https://uploads.disquscdn.com/images/47a1de037f64882ef63d079be08410d8b10b47923a77510aacc0aed734b2b21e.jpg
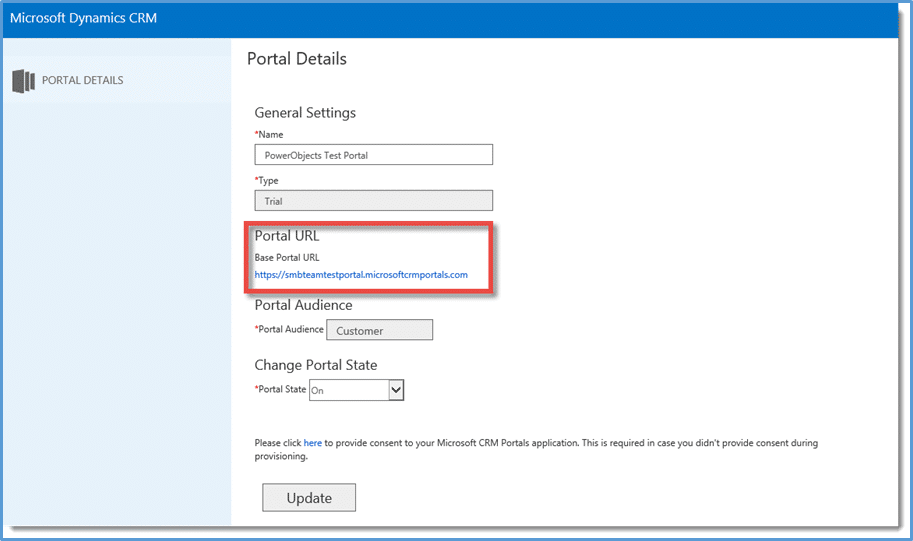
hi there , do u know after a portal is on can I turn it off and change the portal from say community to partner portal and if so the audience type must be changed?
Hey all, I was wondering if anyone here knows if I can create/configure multiple portals with different base portal URLs? Also, do I have the ability to make the account/lead/contact entity available within the portals?
Hi Joe,
I have 2 CRM organisations, Production and Sandbox. I have setup 1 portal adon with Production and i want to setup 2nd portal addon with Sandbox organisation but i can't see any option to setup 2nd portal add on can you please help me.
thanks